Galaxy S26 Camera Blurry? How to Fix Zoom & Low-Light Issues FAST
Just snagged the new Samsung Galaxy S26? Experiencing blurry zoom or grainy low-light pics? Don't panic! This simple guide walks you through troubleshooting and optimizing your S26 camera for stunning shots, every time. Get ready to unleash its full potential!
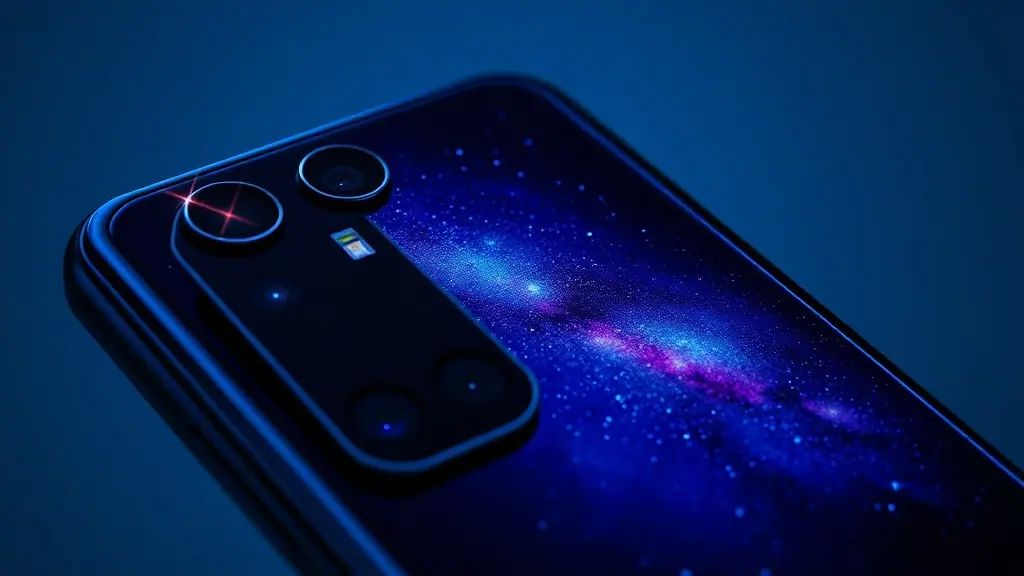
Is Your Galaxy S26 Camera Not Living Up to the Hype? You're Not Alone!
So, you've finally got your hands on the brand-new Samsung Galaxy S26, hyped for its groundbreaking camera, especially that enhanced zoom and low-light video. But are your photos coming out blurry, grainy, or just… underwhelming? You're not alone. With any new tech, especially complex camera systems, launch hiccups and user error are common. The good news? Most issues are easily fixable with a few tweaks and troubleshooting steps.
This guide will walk you through the most common Galaxy S26 camera problems related to zoom and low-light performance, providing actionable solutions to get your camera performing at its peak. Let's dive in!
Step 1: Clean Your Lenses (Seriously!)
This sounds obvious, but it's the most frequent culprit. Our phones live in our pockets and purses, collecting dust, fingerprints, and smudges. A dirty lens scatters light, leading to blurry images, especially when zooming or shooting in low light.
- Power off your phone: Prevents accidental clicks and ensures a dark screen for better visibility.
- Use a microfiber cloth: The same kind you use for eyeglasses. Avoid paper towels or tissues, which can scratch the lens.
- Gently wipe each lens: Use a circular motion. Don't apply too much pressure.
- Re-test your camera: Take some test shots in both zoom and low-light settings to see if the issue is resolved.
Common Mistake: Forgetting to clean all lenses! The S26 has multiple lenses for different zoom levels and features.
Step 2: Optimize Camera Settings for Zoom and Low Light
The S26 camera app is packed with features, but some settings might not be optimal out of the box.
Zoom Optimization:
- Stabilization: Ensure image stabilization is enabled. Go to Camera Settings > Scene Optimizer and turn it on. This minimizes blur caused by hand movement, especially at high zoom levels.
- Zoom Lock: Enable "Zoom Lock" for steady shots at high magnification (Camera Settings > Labs > Zoom Lock).
- Tripod Mode: If you're using a tripod, activate Tripod Mode (found in Camera Assistant settings) for maximum stability.
Low-Light Optimization:
- Night Mode: Use Night Mode for extremely dark environments. The camera takes a longer exposure, capturing more light and reducing noise.
- Pro Mode: For advanced users, Pro Mode allows manual control over ISO, aperture, and shutter speed. Experiment with higher ISO settings (but be mindful of noise) and longer shutter speeds (requires a steady hand or tripod).
- Turn on Scene Optimizer: This setting analyzes the scene and automatically adjusts camera settings for optimal results.
Tip: Experiment with different zoom levels and lighting conditions to understand how each setting affects the final image.
Step 3: Check for Software Updates
Samsung regularly releases software updates that include camera improvements and bug fixes. An outdated operating system could be the reason behind the camera issues.
- Go to Settings > Software Update.
- Tap "Download and Install."
- Follow the on-screen instructions to update your phone.
What this means for you: Often, Samsung addresses common issues like zoom calibration or low-light processing through software updates. Keep your phone updated to benefit from these improvements.
Step 4: Clear Camera App Cache and Data
Sometimes, corrupted cache files can interfere with the camera app's performance. Clearing the cache and data can resolve these issues.
- Go to Settings > Apps.
- Find and tap "Camera."
- Tap "Storage."
- Tap "Clear Cache" and then "Clear Data." (Note: Clearing data will reset the camera app to its default settings.)
Caution: Clearing data will remove your custom camera settings. You'll need to reconfigure them after clearing the data.
Step 5: Factory Reset (Last Resort)
If none of the above steps work, a factory reset might be necessary. Backup your important data before proceeding, as this will erase everything on your phone.
- Go to Settings > General Management > Reset.
- Tap "Factory Data Reset."
- Follow the on-screen instructions.
Important: A factory reset should only be performed as a last resort after exhausting all other troubleshooting options.
Future Implications: Camera Tech in 2026 and Beyond
The Galaxy S26's camera issues, while frustrating, highlight the constant evolution of mobile photography. As phones like the Huawei's new devices launch, expect further advancements in computational photography, AI-powered image processing (think Fibr AI for marketing, but for your personal photos), and hardware stabilization. Learning to troubleshoot these complex systems will become even more crucial for maximizing your phone's potential.
Conclusion: Mastering Your Galaxy S26 Camera
Don't let blurry zoom or grainy low-light photos ruin your Galaxy S26 experience. By following these simple steps, you can unlock the full potential of your phone's camera and capture stunning images in any situation. Remember to keep your software updated, experiment with different settings, and don't be afraid to dive into Pro Mode for ultimate control. With a little effort, you'll be taking professional-quality photos in no time! The future of phone cameras is bright, so get out there and capture it.
Discussion (0)
Commenting as
No comments yet. Be the first to share your thoughts!
The discussion could not be loaded. Please refresh the page.
AI researcher turned science communicator